
Raking-Light Photography Settings That Make Carving Pop
headstone cleaning in California | headstone cleaning in Texas
I still remember the first time I truly saw a gravestone. Not just saw it, but watched the letters emerge from the stone like ghosts, it was a cold November morning in a little churchyard in Vermont, and I'd been wrestling with a badly worn slate marker from the 1770s. The sun was low, barely above the treeline, and I'd given up trying to get a clean shot with my phone. I just stood there, frustrated, hands in my pockets. Then I looked down again and noticed how the long shadows from the setting sun caught every chisel mark. The name — 'Ephraim Goodspeed' — suddenly read clear as day. Took me three tries to get a photo that did it justice. Worth it. That moment made me realize: you don't need fancy gear, you need the right light. And the right camera settings to catch it. So let's talk about raking light — that side-angled, low sun that makes carvings pop — and the exact camera settings to use so you can bring those forgotten names back into view.
What Is Raking Light and Why Does It Matter for Gravestones?
Raking light is just a fancy term for light that hits the stone at a very low angle — think early morning or late afternoon sun, coming from the side. It skims across the surface instead of hitting it head-on. That creates tiny shadows in every carved letter, crack, and texture. Big deal? Absolutely. Head-on light (like midday sun) flattens everything out. You get glare, washed-out details, and a stone that looks like a blank slab. But with raking light, even worn-down carvings suddenly have depth. I've used it on marble, slate, sandstone — even on bronze plaques. Works every time. The key is to get the light coming from the left or right, not from above or behind you. If you're shooting in the middle of the day, you can still fake it with a reflector or a flashlight held at a sharp angle. But natural raking light? That's the gold standard.
Camera Settings for Raking Light: The Nuts and Bolts
Okay, here's the part where I get specific. You don't need a $3,000 camera. I've used a beat-up Canon Rebel T6 for years. But you do need to control three things: aperture, shutter speed, and ISO. For gravestone detail, set your aperture to f/8 or f/11. That gives you a deep depth of field — meaning both the front and back of the carving stay in focus. Shutter speed? Depends on your light. With bright raking sun, I start at 1/125th of a second. If it's cloudy or the stone is shaded, I'll drop to 1/60th or even 1/30th. But watch your hands — camera shake is a killer. Use a tripod if you can. ISO is your last resort. I never go above 800 on my old Rebel because the noise gets ugly. Newer cameras can handle 1600 or 3200, but keep it as low as possible. Oh, and shoot in RAW format. Not JPEG. RAW gives you way more latitude to pull out shadow details later. JPEG compresses the data and you lose those subtle edges. Big mistake if you skip RAW.
White Balance and Exposure Compensation — The Secret Sauce
Here's where most people mess up. Auto white balance on a sunny day makes everything look warm and yellow. That washes out the contrast in gray or white stone. I manually set white balance to 'Daylight' or about 5500K. For slate or dark stone, I sometimes cool it down to 5000K to make the letters stand out more. Experiment. The other trick is exposure compensation. Raking light creates bright highlights and deep shadows. Your camera's meter will try to average those out, and you'll end up with a muddy gray image. So I dial in -0.7 or -1.0 exposure compensation. That darkens the shadows a bit and makes the bright edges of the carving pop. Sounds backwards, but it works. I learned that the hard way after a dozen washed-out shots of a beautifull 1800s sandstone marker. Never again.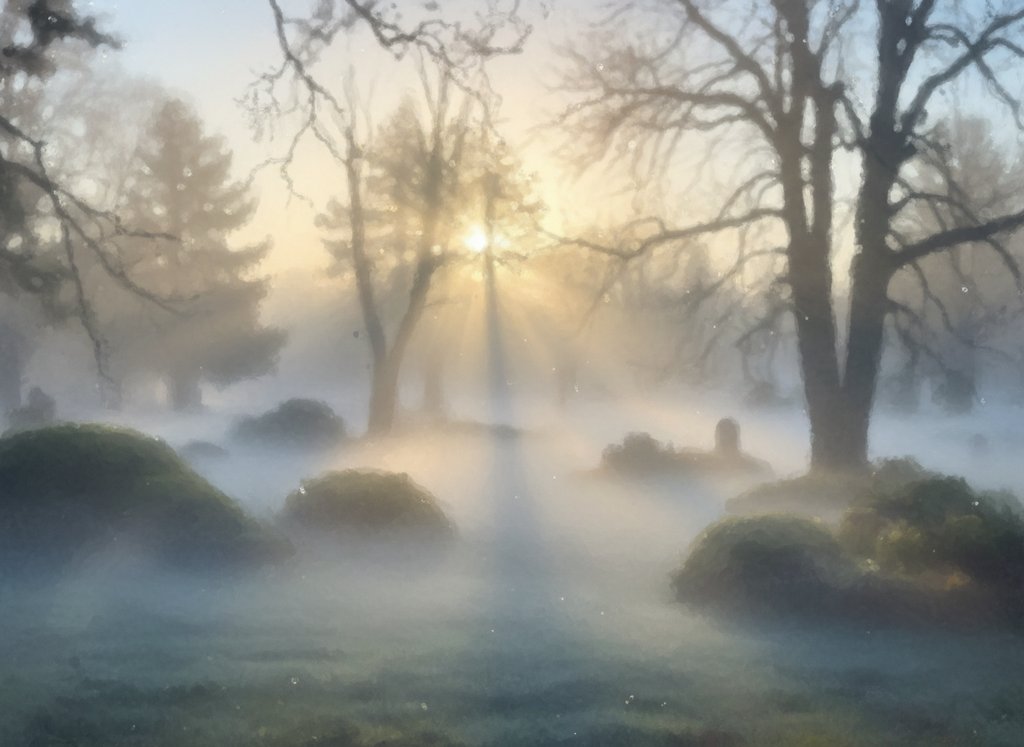
Dealing with Glare and Wet Stone
Sometimes raking light creates too much glare — especially on polished granite or marble. That harsh white reflection can eat the detail. Quick fix: use a polarizing filter. Screw it on your lens and rotate it until the glare disappears. Costs about $30 for a decent one. I always carry a 58mm and a 72mm in my bag. Also, I've found that a slightly damp stone actually helps. Not wet — just misted with a spray bottle. The water fills in micro-cracks and makes the carving contrast more. But be careful: never spray fragile sandstone or limestone with water if it's already flaking. And never, ever use bleach or harsh chemicals to 'clean' the stone before shooting. That's vandalism. Just a light mist of clean water. I've done this on a dozen sites and it's safe. Just make sure you get permission if it's a regulated cemetary.
Post-Processing: Bringing Out the Carving Without Lying
Look, I'm not a Photoshop wizard. But I do a few simple things in Lightroom that make a huge difference. First, I bump the Clarity slider to about +25. That increases local contrast — makes edges sharper. Then I add a little Dehaze, maybe +10, to cut through any flatness. I also use the Tone Curve to deepen the darkest shadows and lift the highlights. But I don't go crazy. The goal is to reveal what's actually carved into the stone, not to invent letters that aren't there. That's dishonest and it ruins the historical record. I've seen people 'enhance' photos so much that they create fake dates. Don't be that person. Keep it honest. A good raking-light photo should show what you could see with your own eyes on a perfect morning. Nothing more, nothing less.
Frequently Asked Questions
Q: What's the best time of day for raking light photography on gravestones?
A: Early morning (about 30 minutes after sunrise) or late afternoon (about 2 hours before sunset). The lower the sun, the better. I've had great resultes as late as 4:30 PM in winter. Avoid noon like the plague — flat, nasty light.
Q: Do I need a special lens for gravestone carving detail?
A: Nope. A standard 18-55mm kit lens works fine. If you want to get fancy, a macro lens (like a 60mm or 100mm) lets you capture tiny details like masons' marks. But I've shot award-winning photos with a basic zoom. Just get the raking light right.
Q: Can I use a smartphone for raking light photos of headstones?
A: Yes, but with limits. Modern phones (like iPhone 13 or later) have great HDR modes. Use the 'Pro' or 'Manual' camera app to lock exposure and white balance. Hold the phone steady — I lean against a tree or use a mini tripod. The phone's small sensor struggles in low raking light, so keep ISO under 400 if possible.
Q: What if the carving is really worn down and raking light still doesn't show it?
A: Try a stronger raking angle — get the light almost parallel to the stone. Use a bright LED flashlight held at the edge of the stone, shining across the face. I use a Fenix PD36R at 1600 lumens. Move it slowly until the shadows appear. This works on 200-year-old slate that looks completely smooth.
Q: Is it okay to clean a gravestone before photographing it?
A: Gentle cleaning is okay, but only with water and a soft brush — no bleach, acids, or wire brushes. For biological growth, use a pH-neutral, non-ionic cleaner like D/2 Biological Solution. Spray it on, let it sit, rinse with low-pressure water. Never pressure wash. And always check with the cemetery first. I've had caretakers give me a flat 'no,' and I respect that.