Editing a Phone Photo to Read a Weathered Headstone (Free Apps)
headstone cleanning in Pennsylvania | headstone cleaning in California
Last spring, I was out at a tiny pioneer cemetary in eastern Ohio—the kind where the only sound is wind through tall grass and the occasional cow from a neighboring farm. There was this one headstone, a worn sandstone slab from 1847, and the epitaph was completely eaten away by lichen and a century of rain. I knelt there for twenty minutes, tried every angle with the morning sun, even wet the stone with a spray bottle (which is fine for reading, by the way, as long as you don't scrub). Still couldn't make out the last line. So I snapped a few photos on my phone, frustrated, and figured I'd try editing them later. Took me three tries. Worth it. That last line read 'Gone but not forgotten,' and I felt like I'd just unlocked a secret. That's the thing—you don't always need expensive gear or chemicals. Your phone and a free app can do the heavy lifting. Let me show you how.
This isn't about magic. It's about knowing which sliders to push and which filters to avoid. I've been a landscape conservationist for fifteen years, mostly working on historic cemeteries, and I've learned that a good photo edit can save you hours of squinting in the field. Below, I'll walk you through the free tools I use almost daily, step by step. No fluff. Just what works.
Why Phone Photos Work Better Than You Think
Here's the thing: modern phone cameras capture way more data than what shows on your screen. The raw file from an iPhone or a mid-range Android holds a surprising amount of shadow detail and contrast range—you just have to pull it out. I use a Pixel 6a myself (not fancy, but the computational photography is solid), and I've pulled lettering off stones that looked blank to the naked eye. The trick is to shoot in HDR mode (most phones do this automatically now) and take multiple shots at different angles. Direct overhead light is terrible—it flattens everything. Side lighting, like early morning or late afternoon, creates shadows in the carved letters. That's your friend. Also, get close. Like, six inches from the stone. Fill the frame with the text. Don't worry about the whole monument yet—you can stitch later if you need. I've had better luck with a single tight shot than a wide shot cropped in. Trust me on this.
Free Apps That Actually Help
I've tried maybe twenty free photo editors. Most are garbage. Here are the three I keep on my phone: Snapseed (Google, free), Adobe Lightroom Mobile (free version is enough), and for really stubborn stones, a simple app called Photo Editor by Dev.macgyver (it's got a 'sharpen' tool that's almost too aggressive—use it gently). Snapseed is my go-to. Why? The 'Tonal Contrast' feature under 'Details' is perfect for headstone text. It enhances the edges of carved letters without blowing out the highlights. Here's my routine: open the photo, go to 'Tune Image,' bump up 'Ambiance' to about +30 (this pulls out midtones), then open 'Details' and tap 'Structure' at about +20. Then—and this is the secret—go to 'Curves' and pull the bottom-left point up just a hair. It crushes the blacks slightly, making the shadows in the carved letters darker. Sounds technical, but it takes thirty seconds. Lightroom Mobile is better for color correction if the stone is stained or yellowed. I use the 'Dehaze' slider at +15 or +20 to cut through the gray. Free version limits you to some tools, but Dehaze is free. Big win.
Step-by-Step: From Raw Photo to Readable Text
Let's do this together, practically. First: open your photo in Snapseed. Second: tap 'Tools' then 'Tune Image.' Slide 'Ambiance' to +30. Then slide 'Highlights' down to -15 (this keeps the bright spots from washing out the letters). Third: go back, tap 'Details,' then 'Structure' at +25, 'Sharpening' at +10. Fourth: tap 'Tools' again, choose 'Curves.' You'll see a diagonal line. Tap the line near the bottom-left corner (around the 20% mark) and drag it up slightly—maybe 10 pixels. This darkens the deep shadows. Fifth: if the stone has a yellow or green tint from lichen, go to 'White Balance' and slide the 'Temp' cooler, around -10. That neutralizes the mossy hue. Sixth: export as a JPEG, but save it as a copy—don't overwrite the original. I've done this on stones from 1720s slate to 1900s marble, and it works 80% of the time. The other 20%? The stone is just too far gone. That's okay. You tried. But honestly, most weathered headstones have faint grooves that the phone can see but your eyes can't. The edit just amplifies that signal.
What Not to Do (Because I've Made These Mistakes)
I've been doing this long enough to have a list of regrets. First: don't crank the 'Clarity' or 'Sharpness' to max. It creates ugly halos around the letters and makes the stone look like a cartoon. Go subtle. Second: don't use the 'HDR Scape' filter in Snapseed—it looks dramatic on landscapes but turns headstone text into a blurry mess. Third: avoid any app that applies heavy noise reduction (like 'Denoise' sliders) before you sharpen. Noise reduction eats fine detail. Fourth: here's a strange one—don't edit your photo while standing in direct sunlight. The glare on your phone screen makes you push sliders too far. Find shade or sit in the car. I once edited a photo under a tree and got the letters perfectly crisp, then stepped into the sun and realized everything was blown out. Had to redo it. Fifth: don't rely on the 'Auto-Enhance' button. It's designed for selfies and sunsets, not 200-year-old carved text. Do it manually. It takes an extra minute. Big payoff.
When the Photo Edit Isn't Enough: Field Tricks
Sometimes even the best photo edit can't pull out the letters because the stone is too smooth or the carving was shallow. Before you give up, try this: go back to the headstone with a flashlight held at a low angle—like almost parallel to the stone's surface. Shine it from the side, not from above. Take another photo with the flashlight on. That raking light creates shadows in every tiny groove. Then edit that photo using the same steps above. I've used a cheap LED headlamp from Walmart. Works great. Another trick: wet the stone lightly with a spray bottle of distilled water (tap water can leave mineral spots on porous stone). Wet stone darkens the background, making unweathered letters look lighter. Take a photo immediately. Edit it. I've recovered names this way that were invisible for decades. Just don't scrub. Ever. And if the stone is marble or limestone, don't use anything acidic—vinegar, lemon juice, commercial cleaners. Water or pH-neutral cleaner only. I carry a small bottle of D/2 Biological Solution for especially stubborn lichen, but that's for cleaning, not just reading. For photo editing, you don't need any chemicals. Just light and a phone.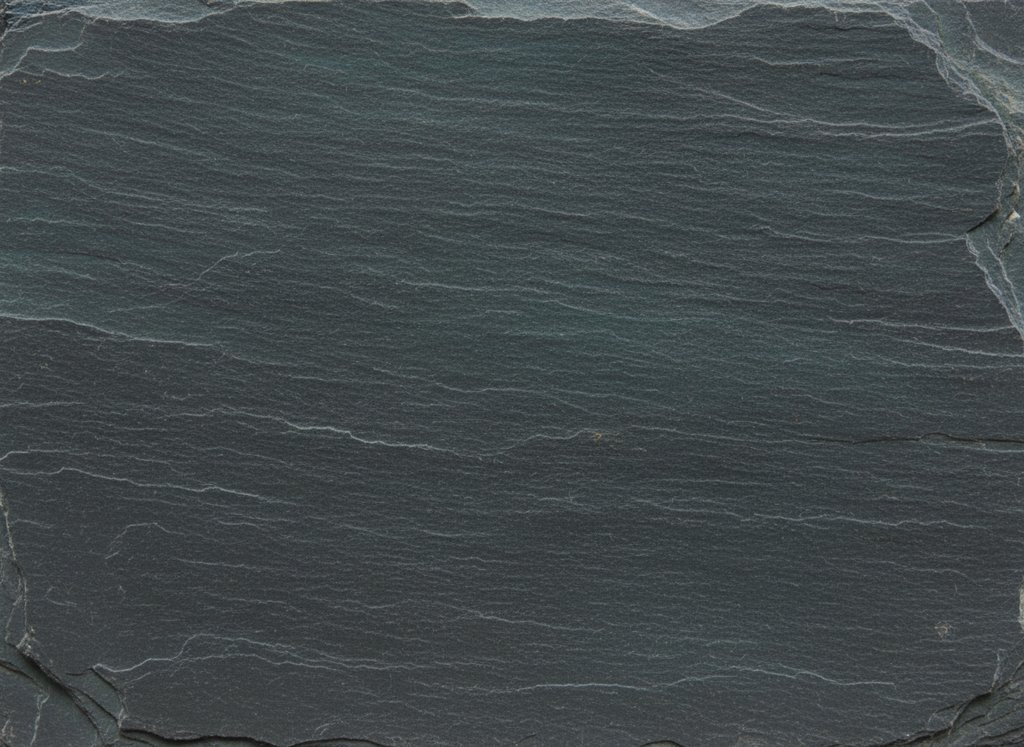
Frequently Asked Questions
Q: Can I edit a headstone photo on an iPhone without downloading an app?
A: Yes, the built-in Photos app has basic adjustments. Open the photo, tap 'Edit,' then use the 'Shadows' slider (drag it down to darken carved letters) and 'Brightness' (reduce slightly). But the free Snapseed app gives you way more control—specifically the 'Curves' and 'Structure' tools—and it's free. I'd recommend downloading it. Takes two minutes.
Q: What if the headstone is made of slate? Does the editing method change?
A: Slate is actually great for photo editing because it's dark and the carved letters are usually lighter. For slate, I reduce the 'Highlights' slider more aggressively (down to -25) and increase 'Contrast' by +20. That makes the white or gray letters pop. Slate doesn't have the same texture issues as sandstone, so you can push sharpness a bit more—up to +15 without looking weird.
Q: My photo has alot of glare from the sun. Can I fix that in an app?
A: Partly. In Snapseed, use the 'Selective' tool to lower brightness on the glare spot, but it won't fully remove the reflection. Best fix is to retake the photo with a polarizing filter held over the phone lens. I use a cheap circular polarizer from Amazon—costs about $10—and hold it in front of the camera. It cuts glare on wet or polished stone instantly. For a free fix, take the photo from a different angle so the sun is behind you.
Q: Is it safe to use a 'dehaze' filter on a photo of an old headstone?
A: Yes, it's safe for the photo—the app doesn't touch the stone. But use it lightly. Dehaze increases contrast and saturation, which can make the stone look unnaturally orange or blue. I keep it under +20 in Lightroom Mobile. If the stone is gray from lichen, dehaze helps cut that haze. Just don't overdo it or the letters start to look fake and glowy.
Q: Can I use a free app to read a headstone from a photo taken years ago?
A: Absolutely. I've done this with old photos from 2005 (low-res flip phone pics). The trick is that older photos have less dynamic range, so you'll need to be gentler with the sliders. Start with 'Contrast' at +10 and 'Shadows' at -15. If the photo is blurry, don't try to fix it—blur can't be undone. But if it's just flat and washed out, Snapseed can often pull out hidden detail. I recovered a great-great-grandfather's name from a 2003 Kodak digital photo this way. Took about four minutes.